Finally, a part of this project that was fairly simple. I removed the interior of the steam trunk the other day. It was a pretty easy part of the project and only took about an hour.
 |
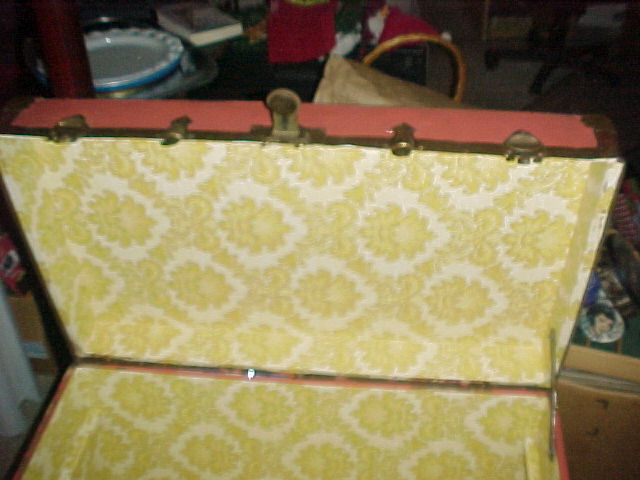
| Ugly old steam trunk interior. Just hideous ! If this was the original interior I would of never removed it. |
I removed the interior for a number of reasons. One, it was pretty ugly ! Two, it wasn't the original interior. Three, I wanted to see if the bottom of the trunk was dry rotted, (something I should of done before I got into doing all this sanding, luckily it looks good). Finally, it's a pretty old trunk, it sat in an attic, a basement, a garage and God knows where else, so I wanted to make sure no creepy crawly things were living in there. Luckily, no creepy things. If you have an original interior in your trunk, I wouldn't remove it unless it's in really bad shape. The original interior would increase the value of your steam trunk considerably.
 |
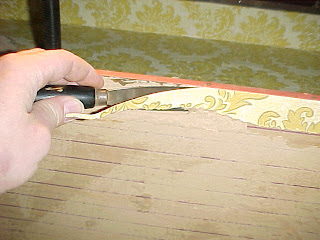
| Cut along the bottom edge and one side. I couldn't believe how easy this was. |
So, I got my razor knife and cut along the edge of the bottom and the one side. I pulled up the edge and it came out in almost one piece. Finally, a part of this project that I think I got lucky on.
 |
| Once you cut the edges, just pull up. |
Any stubborn stuff that didn't come off on the first pull, I scraped with an old putty knife or paint scraper. The stubborn stuff really wasn't that stubborn.
 |
| Take a putty knife or paint scrapper and remove any stubborn stuff that doesn't pull up on the first try. |
Some of the original interior was still under the replacement interior. It was tan with purple pin stripes. I left this, though I may ruff it up a bit with sandpaper before I install the new interior. Both interiors seemed to be nothing more than wallpaper and was really easy to remove.
 |
| This was the original interior, still ugly but I would of never removed this if it wasn't already ruined by the replacement interior. |
A word of warning, the wallpaper interior in my trunk was pretty sharp on the edges and I got a small boo boo on my hand, a paper cut really, but it shocked me and could of been worse had I moved my hand just a little bit quicker.
 |
| That wallpapers sharp, luckily I was working slowly, if I would of moved my hand just a little bit quicker this could of been nasty. |
For the next post, I plan on removing the broken leather handle straps.
 |
| Broken steam trunk handle, this is the next part of the project.Then I'm back to sanding :( |
Project time for this post : 1 hour
Total time spent on project so far : 31 hours 45 minutes
Total project cost so far : $33.62 USD
 |
| Steam trunk, now awaiting a new interior for its new life. |


No comments:
Post a Comment